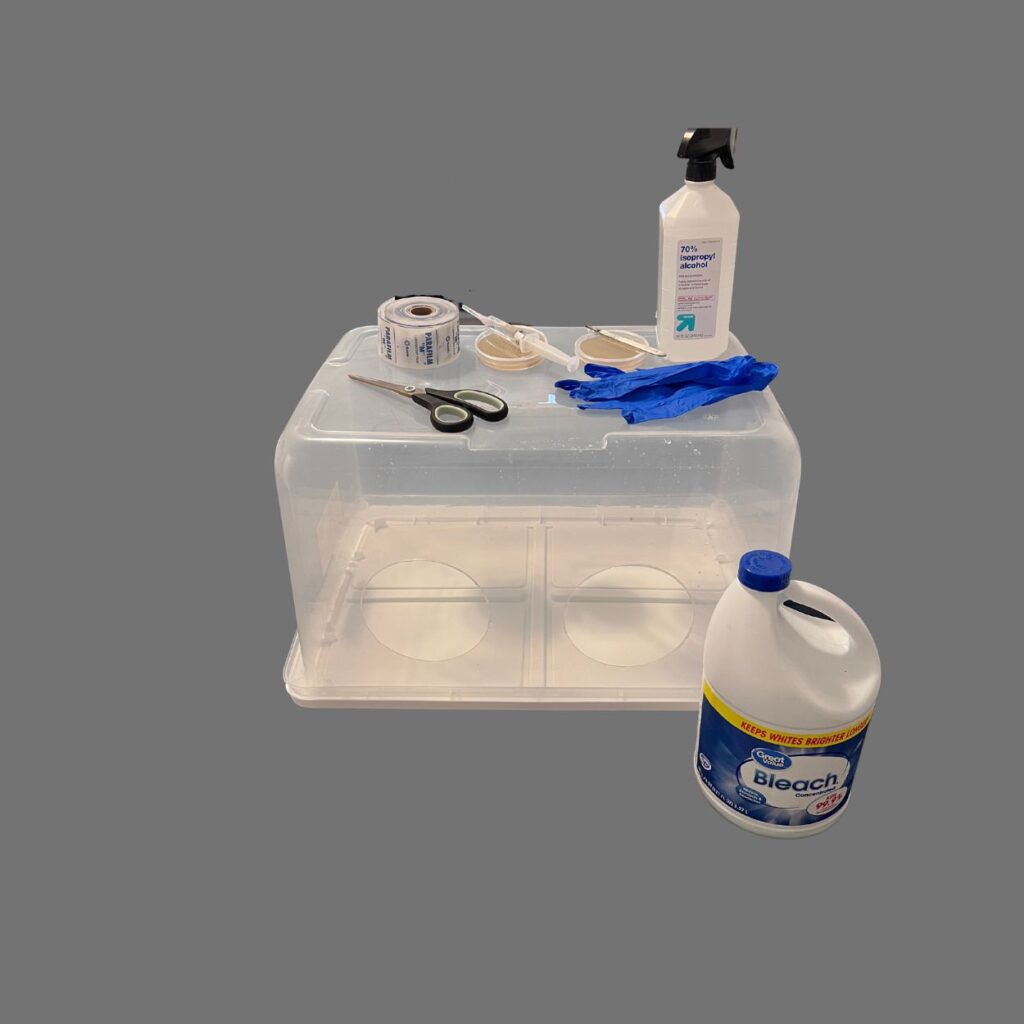
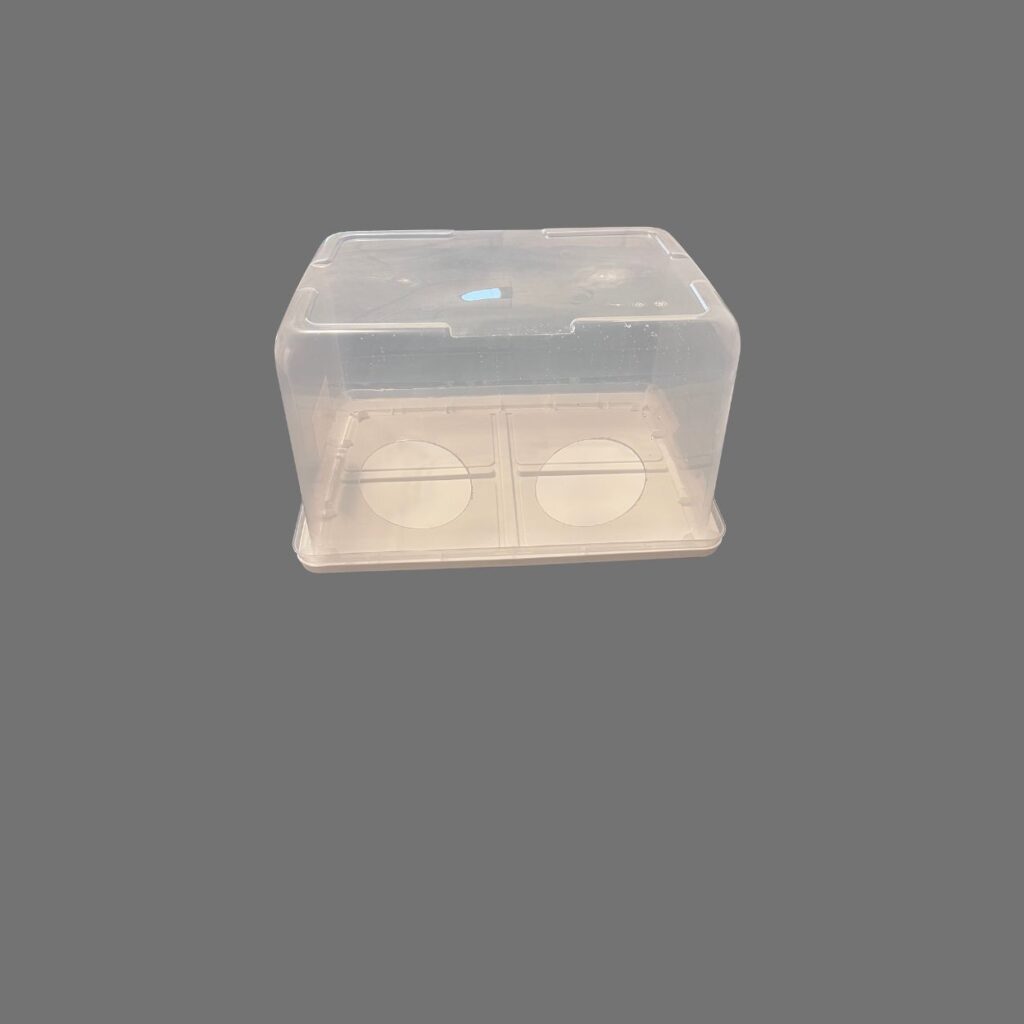
The Still Air Box, or SAB...
Is a type of enclosed container used in mycology to provide a sterile environment for the cultivation of fungi. It is one of the most basic pieces of equipment used by hobbyists and professional mycologists alike.
The Beginning of the Still Air Box
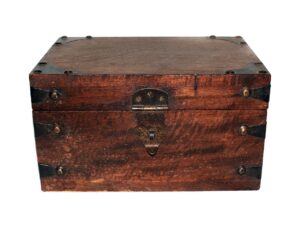
The history of the Still Air Box is murky but one story dates back to the early days of home mushroom cultivation, when a German mycologist named Julius Schäfer developed the first SAB in the early 1900s. Schäfer’s design was simple but effective: a wooden box with a tight-fitting lid and an airtight seal.
Another source reported that the first recorded use of a SAB was in a 1924 publication by American mycologist Charles Thom, who described using one to isolate various types of fungi. There wasn’t any information available about the materials used.
No matter who’s story you prefer, since its inception, the Still Air Box has undergone few changes. The most significant change came in the 1960s, when plastic replaced wood as the material of choice for construction. Plastic boxes are cheaper to manufacture and more durable than their wooden counterparts. Today, still air boxes are widely available and easy to make. From one hobby mycologist to another, once you start working in front of a laminar flow hood, you will never want to work in a SAB again…
Here's what you will need to make this SAB.
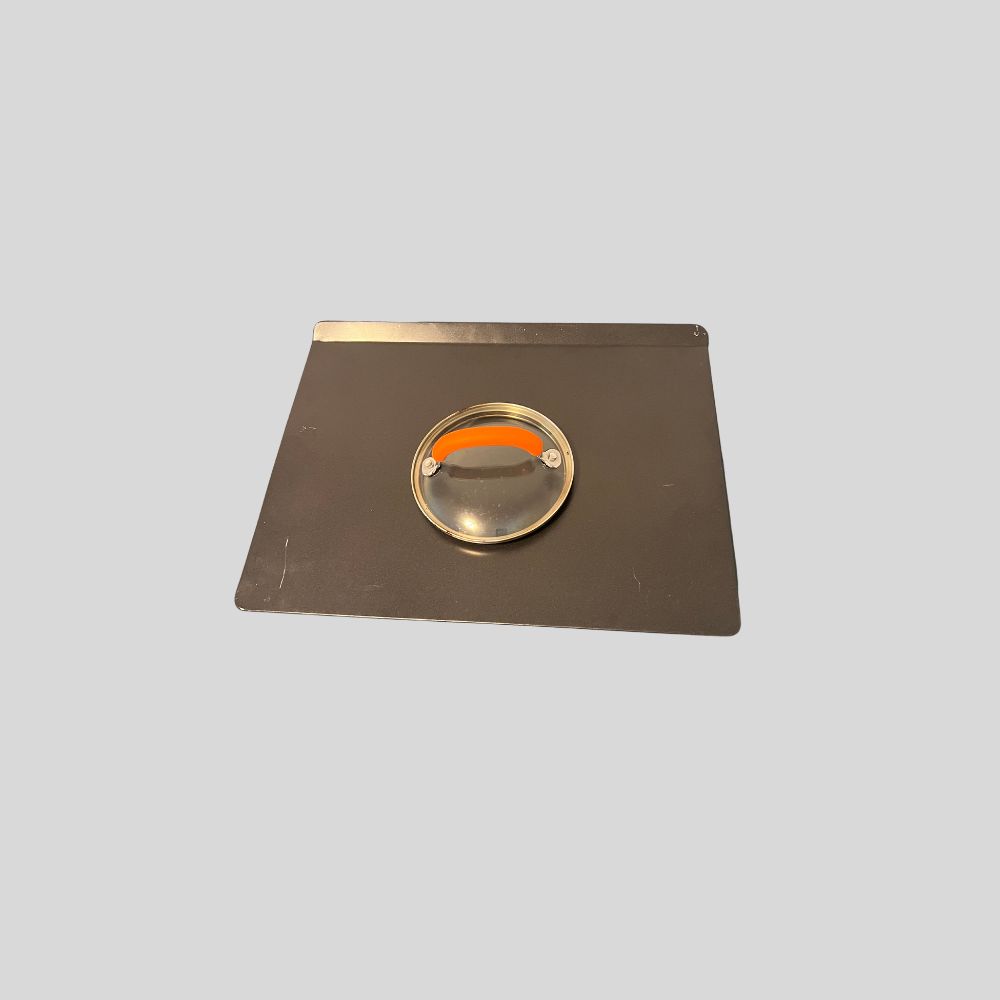
Tools needed will be a baking sheet (to protect the surface you are working on) and a pot lid with a sharp edge for making the hand holes. You will want a potholder (or something similar) to protect your hands when handling the hot lid.
Placing Hand Holes
You will need to decide where you will be using your still air box in order to place the hand holes at the correct height. Once you have decided upon your work area, place the box upside down–this is the position the box will sit in when you use it for mycology work. You want your hands to go in the holes with ease and for your arms to feel comfortable. Use a marker to mark the center of where the hole should go.
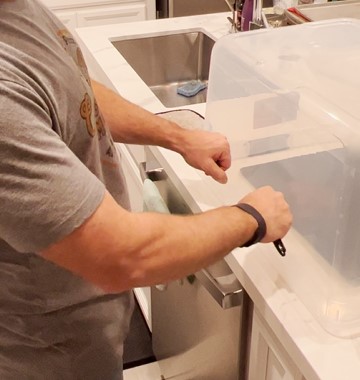
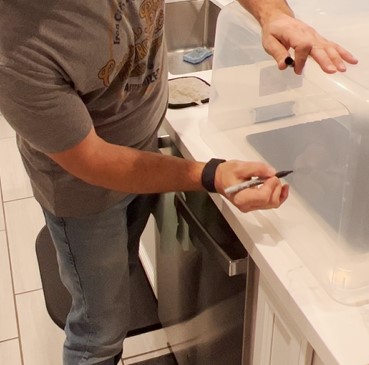
Fire in the Hole!
Now light up your stove (or other heat source) to get the rim of your pot lid nice and hot so it can cut hand holes in the plastic tub with ease. 45 seconds to a minute is long enough to leave the lid on the stove.
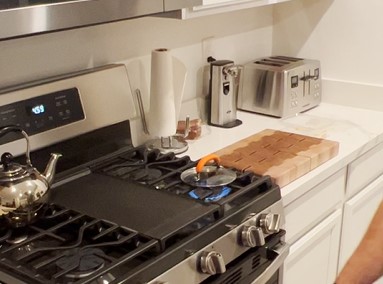
Making the Hand Holes
While the lid is on the stove getting hot, take the plastic tub and position it on its side with the marks you made for the hand holes placed against the baking sheet. Make sure the baking sheet is resting on a solid and sturdy surface.
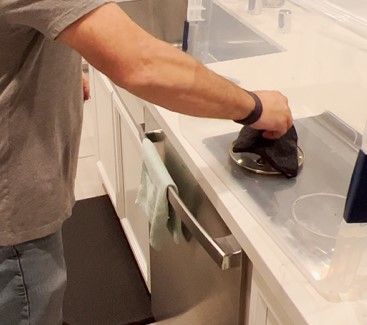
Once the pot lid is hot enough, get a potholder (or something similar) to protect your hands while handing the hot pot lid. Next, place the center of the pot lid as close to the mark as you can and gently push the lid into the plastic. Once it starts to penetrate you can twist the lid so it pushes through the plastic… Repeat for the other hand hole.
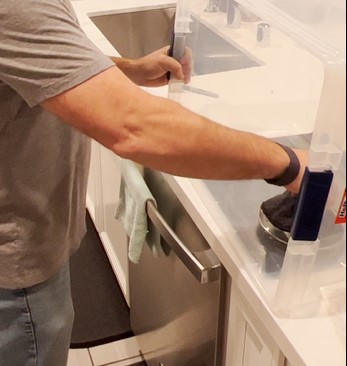
Your Still Air Box is Complete...
Now that you have made a SAB, what should you do with it?? Quick answer…follow me over to YouTube where I show you how to use it for the first time. I’ve also included the steps to make the SAB at the beginning of the video.
If you are interested in an affordable Laminar Flow Hood, check this one out– it weighs less that 5 lbs, is a whopping 17″ x 9.5″ and is only $199.99


