Up to 10 Years of Storage...
It’s hard to believe there aren’t more people talking about this tek.
After picking the best genetics for many generations it’s time to save the culture for long term storage to protect against something happen to your master culture, or perhaps you would like to stop growing for a year or longer but you don’t want to start over with spores when it’s time to grow again. This tek is easier than making agar slants and last 2-10x longer.
Table of Contents
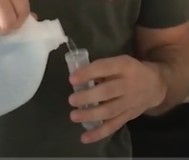
Fill Centrifuge
Fill centrifuge tube 3/4 full of distilled water. Do not fully tighten cap of centrifuge tube. You don’t want to trap air inside the centrifuge during the pressure-cooking process.
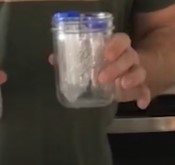
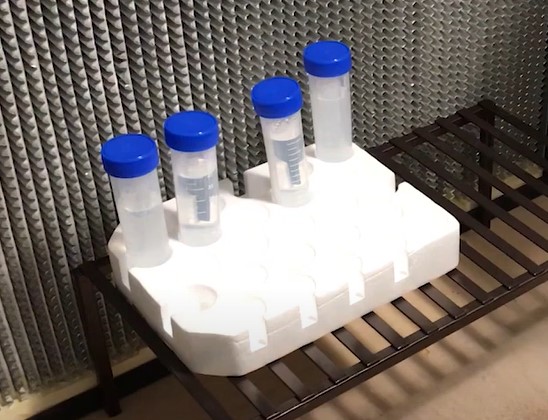
Prep For Pressure Canner
Place centrifuge tubes in small glass jar. If glass jar is shorter than centrifuge tube you should cover the tube caps with tinfoil so the water boiling inside the pressure cooker does not mix with the distilled water in the centrifuge tubes.
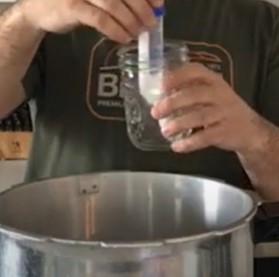
Sterilize Using PC
fill pressure canner to manufacturers recommended water level (but not higher than jars being places inside pressure canner). Place jars with centrifuge tube inside of pressure canner, seal lid without placing 15 lbs knocker on valve.
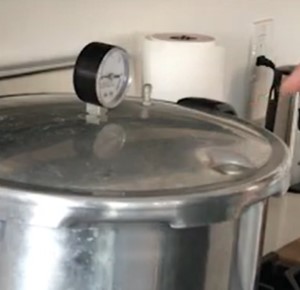
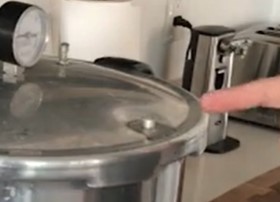
Pressure Canner Instruction 1
With the lid and seal in place on top of the pressure canner, turn the heat up to high to bring water inside to a boil. Once the water is boiling it will build up pressure in your canner and a valve will pop up indicating there is pressure in the canner. Once this valve has popped up let the steam come out of the top of the open valve on top for 15 minutes. See pic.
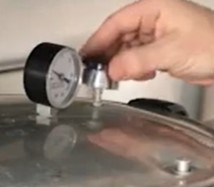
Pressure Canner Instruction 2
After 15 minutes of letting steam out of pressure canner you can place the 15 lbs knocker on top of the open valve.
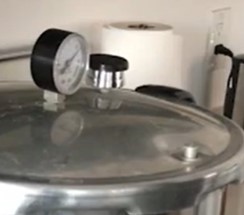
Pressure Canner Instruction 3
Once pressure canner has reached 15 lbs of pressure the knocker on top of the valve will begin to rock back and forth to allow pressure in excess of 16 lbs out of the pot. This is a safety feature to keep the pot from over filling with steam. You will now stabilize the pressure in the canner by turning the heat down until rocker is just barely rocking back and forth. Let pressure cook for 30 minutes at 15 psi.
Pressure Canner Instruction 4
After 30 minutes turn off heat and let pressure release from pot. You can remove the knocker from the valve to speed up the process but be sure to cover your hands as the steam will come out of the valve fast and be very HOT.
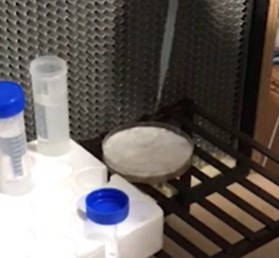
Inoculation 1
Make sure to wear rubber gloves that have been sanitized with 70% isopropyl alcohol before handling contents inside pressure canner. All contents are sterilized. Make sure contents are cool enough to handle before removing. Now, remove contents from pressure canner and place in front of a flow hood.
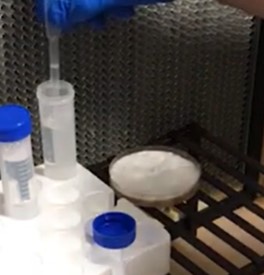
Inoculation 2
You will need a small bowl to fill with 70% isopropyl alcohol. You will use it to clean the inside of your pipettes. To do this fill the inside of the pipette with alcohol and turn it upside down while you twist it around in your fingers, then turn it right side up and continue to twist the pipette in your finger allowing the alcohol inside the pipette to hit and clean the inside walls. Repeat this 3 or more times until all parts of inside of pipette are sterile. Now spray the outiside of the pipette with alcohol, be sure to get under your fingers where you’re holding the pipette.

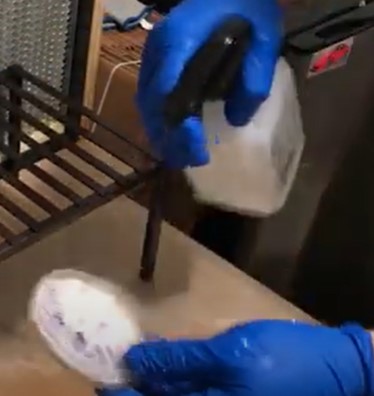
Inoculation 3
Make sure that your hands are re-sanitized every time they come out of the clean air of the flow hood or your Still Air Box.
Take your fully colonized agar plate and clean the outside of it with 70% alcohol and set it in front of the flow hood.
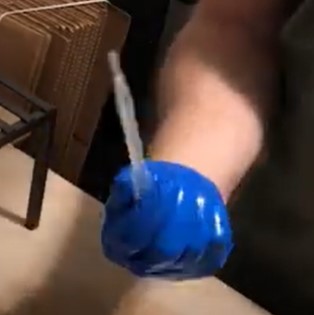
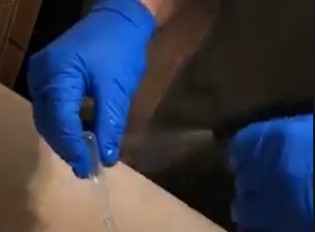
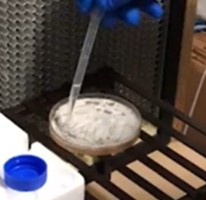
Inoculation 4
Remove lid from centrifuge tube. Using sterile pipette extract a full pipette of sterilized distilled water out of centrifuge and empty out onto the agar plate. There should be enough distilled water on the plate to drag the same pipette over the mycelium to break it up into smaller pieces of hyphae and then suck it back up into the pipette and place the water (that is now full of hyphae) back into the original centrifuge tube.
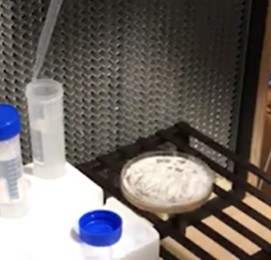
Once you’re done with this step you get rid of the agar plate as it is not longer useful to you. You should always make more than one back up for long term storage to insure against contamination.
Place lid tightly back on top of centrifuge tube and store in a plastic bag at room temperature. Keep out of sunlight. If you are storing in an area that is over 90 degrees consider putting in the fridge. Click to watch this entire process on youtube
Equipment and materials list
| Centrifuge Tubes | https://amzn.to/3YiCOiz |
| Distilled Water | https://amzn.to/40ZnEQN |
| Pressure Cooker 4 Quart | https://amzn.to/3HT7CkF |
| Pressure Cooker 23 Qt | https://amzn.to/3HO8PJZ |
| Still Air Box | https://amzn.to/3Wy4sH5 |
| Laminar Flow Hood | https://amzn.to/3YViyEh |
| Parfilm Tape | https://amzn.to/3YzqUBm |
| Gloves | https://amzn.to/3WxuJ87 |
| Petri Dishes | https://amzn.to/3Wy4L4H |
| Alcohol | https://amzn.to/3WqC9du |