Mushroom Monotub Basics
Lets cover a few basics of a monotub. If you are growing a dung loving mushroom, many people opt to grow them in monotubs because they’re easy to make, easy to maintain, low tech, and CHEAP!
I often see confusion by new growers when it comes to “fruiting conditions”. By design the monotub doesn’t require any tinkering once you’ve inoculated bulk substrate inside of it. The idea is to set it and completely leave it alone unless it needs you.
"Fruiting Conditions"
The mushrooms will show signs of their needs. Typically, their only need is more fresh air and to get rid of the C02 build up. They show signs of needing more air by growing very skinny or by showing “fuzzy feet” (a fuzzy appearance shows on the base stipe) that’s a sign they’re not getting enough fresh air and too much C02 is building up inside the monotub. The fix is to take the poly fil out of the holes or to open the box and fan the substrate for 30 seconds 3-4x per day.
People have asked me what the ideal “monotub colonization conditions” are? It’s a simple answer, room temp usually work just fine. Most species of mycelium will do just fine in temps of 65 F to 80 F. If you keep your house between these temps somewhere, your mushies will be just fine.
Back to fruiting conditions…You won’t need to do anything with this mushroom monotub. Once the mycelium has colonized the bulk substrate and runs out of food, it will trigger the mycelium to grow mushrooms. From there, you will start to see small pins, in 4-6 days or wait until just before the veil under the cap breaks and harvest.
Why Does Mycelium Grow Mushrooms?
Mushrooms are the fruits of mycelium and also contain the spores. Spores are reproductive cells that must fuse in pairs in order to give rise to a new mycelium. The real purpose of the mushroom “fruiting body” is to spread the spores so they can germinate, find more food and can stay and keep the world working.
Mushrooms release millions and even billions of spores and can be irritable to your lungs. Use breathing protection if necessary.
Building a Mushroom Monotub
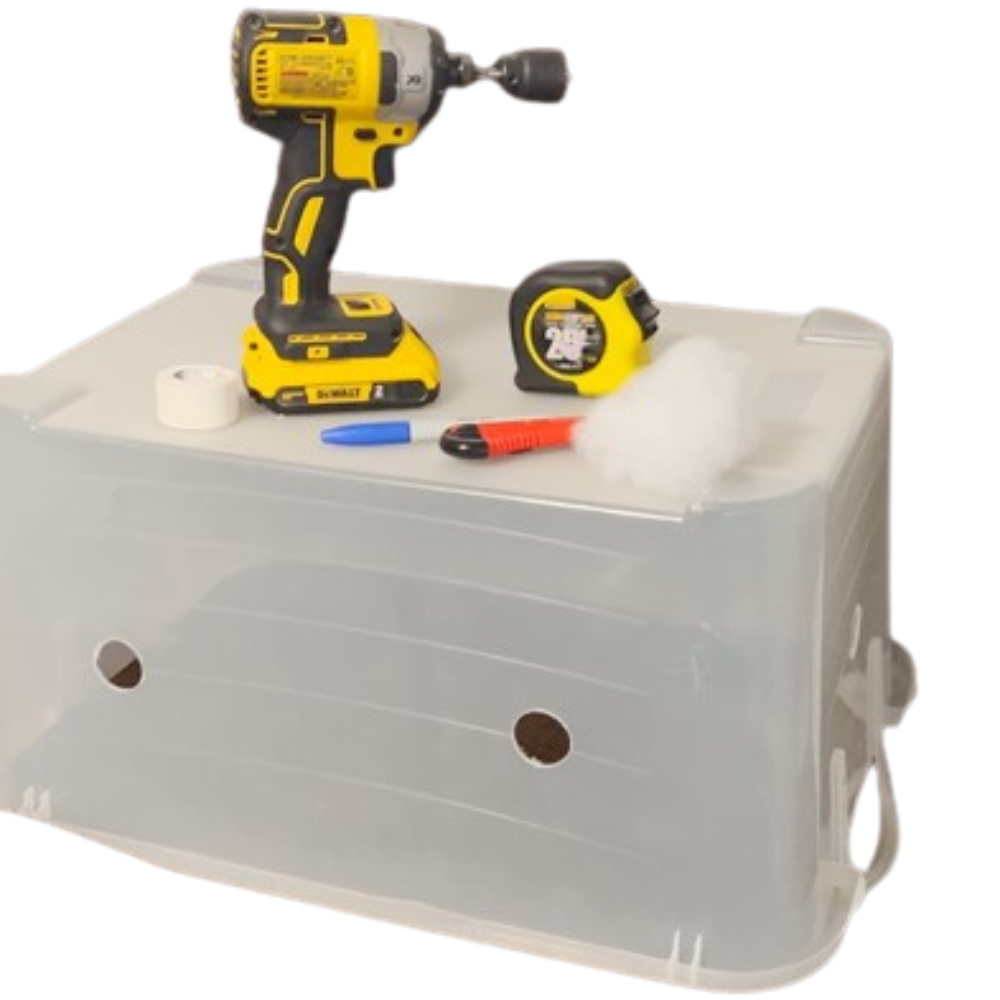
Tools needed: Drill, 1 ¼ hole saw bit, razor knife, marker, tape measure.
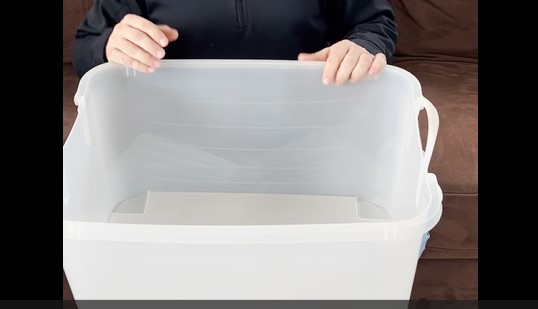
- Get a clear tub (storage tote) that’s 54- 70 quarts Pic 1
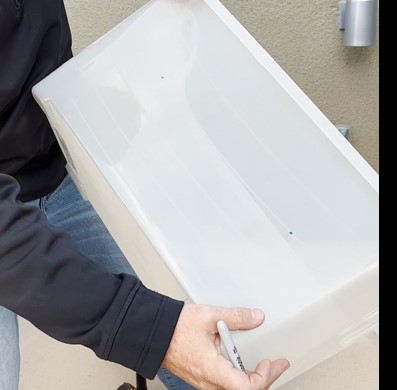
- On the long sides the tub make two marks about ⅔ of the way up the side wall, try to spread the holes equally apart. Monotub making pic 2
- On the ends make one mark ⅔ of the way up in the middle of the end. Monotub making pic 3
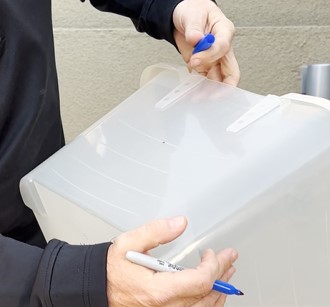
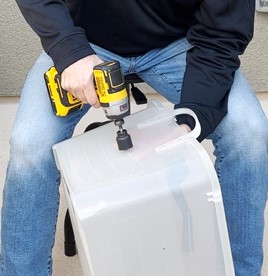
- Drill out all 6 of your marks with the 1 ¼” hole saw bit. Monotub making pic 4
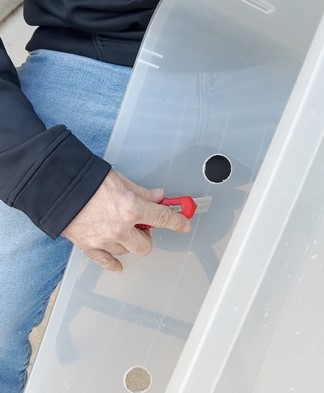
- Using the razor knife clean the edges of your new holes. The rough edges catch on your paper towels when you’re wiping down the inside of the box. If this doesn’t bother you, feel free to skip this step. Monotub making pic 5
Pic 1
Pic 2
Pic 3
Pic 4
Pic 5
Liner or No Liner is kind of a No Brainer... IMHO
Line your monotub or not to line your Monotub, this is the question?
Your monotub is now complete and ready to be used to grow mushrooms. There’s still more to consider; should you use a liner in your monotub or not?
Answer… I think it’s wise, and here’s why.
- It’s easier to clean up after you’re done growing. The substrate should go into your monotub at “field capacity” meaning if you pick up a handful of substrate and squeeze it tight in your hand (think making a fist with a hand full of substrate) water will come out. The substrate dries out over time and leaves chunks of substrate attached to the walls of the tub. It can be messy.
- The liner makes it a lot easier to move back and forth If you dunk your substrate in between flushes to rehydrate it.
- Did I mention clean up? I can normally clean up a monotub with just some alcohol and paper towels after a grow with a liner. When I wasn’t using liners I had to take the tubs outside to hose off the chunks of dirt.
- Side pins…if there is no liner, your substrate will dry up and grow away from the wall allowing more oxygen to get to it…the mycelium will sense the oxygen and send pins. Those pins often turn into big mushrooms and you have to tear apart your substrate trying to dig them out.
I’ve included a couple of liner ideas that I’ve tried in the past. #1 is my least favorite but it’s effective.
Liner Method #1 Prefolded Liner
Tools needed: Scotch tape, scissors, garbage bag
How to make a pre folded plastic lining:
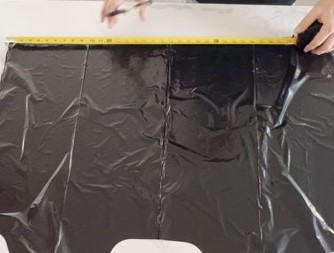
- Measure the top of the tub and add 4 inches to the length and width (the extra will make up your side walls).
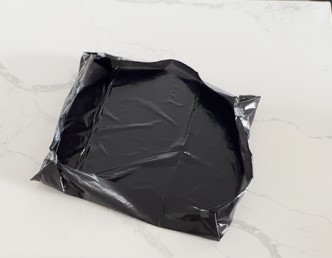
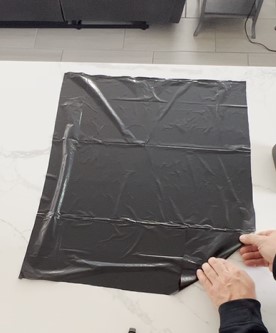
- Using a garbage bag cut out the dimensions from above. (pic 1)
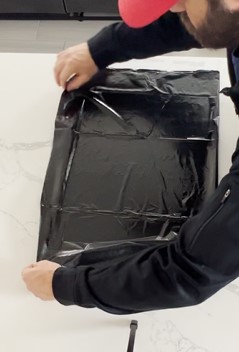
- Lay plastic out flat and make 2” fold on all 4 sides, make good creases so you can see them when you unfold the bag. (pic 2)
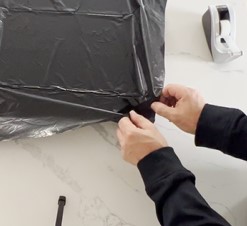
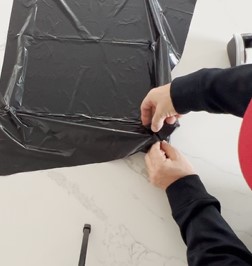
- Fold each corner at a 45 degree angle pic 3, then fold in the center and pull both corners together pic 4 and then pull the flap in the middle to one side or the other to create a barrier that doesn’t allow bulk substrate to touch the plastic tub walls and tape them together. Pic 5
- Repeat for all four corners pic 6
Pic 1
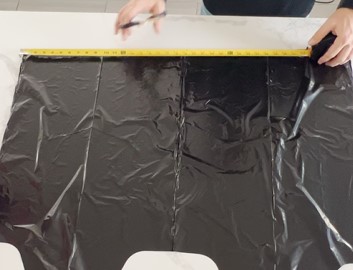
Pic 2
Pic 3
Pic 4
Pic 5
Pic 6

Liner Method #2
Tools Needed: Scissors, garbage bag
Want to skip the folding and taping? Try this idea,
- Measure the top of the tub and add 1.5 inches to the length and width (the extra will make up your side walls).
- Using a garbage bag cut out the dimensions from above. Pic 7
- Now set that to the side until you’re ready to mix your fully colonized grain spawn with your bulk substrate.
Now What?? I'll Tell You...
Now you’ve got a liner for your monotub. You’re ready put your fully colonized mycelium onto a bulk substrate…mushrooms are just a few weeks away now.
Below are steps to follow to mix your grain spawn and bulk substrate.
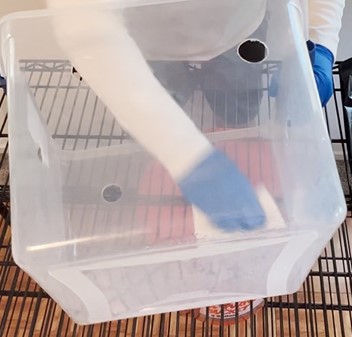
- Clean your monotub thoroughly by spray, misting with 70% isopropyl alcohol and wiping it down with a paper towel. Pic 8
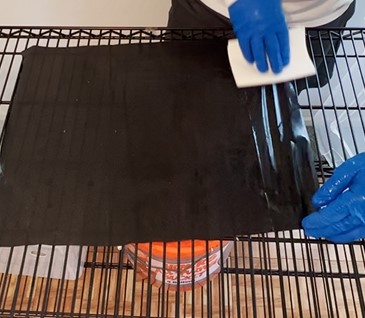
- Lay the plastic liner out and spray with 70% isopropyl alcohol and wipe with a paper towel. Pic 9
- Turn over and repeat.
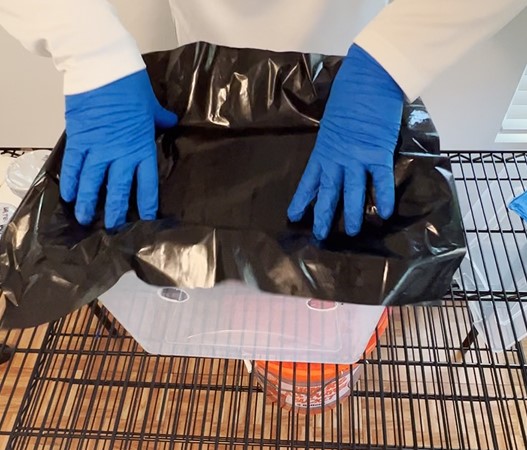
- Now lay the liner flat across the top of your monotub then take both hands and push the liner to the bottom of the monotub. Pic 10 If the bag folds over on itself and won’t stick to the side wall just give the wall a little squirt of alcohol then push the liner against the spot and it should stick.
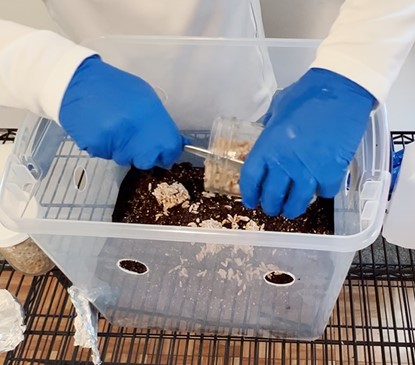
- Repeat on all 4 walls then quickly put your bulk substrate in the bottom of the liner and spread it around so the liner sticks. Pic 11
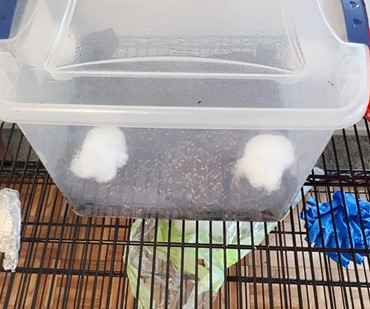
- Break up and mix in your grain spawn with the bulk substrate. Pic 12, make sure you have poly fil or spore tape over your FAE holes. Pic 13 Spray the lid with 70% isopropyl alcohol and place on top. Only remove if you need to give more FAE. Otherwise there is no reason to remove the lid until harvest time. This monotub is designed to be a micro climate that doesn’t need mush human adjustment.
Pic 8
Pic 9
Pic 10
Pic 11

Pic 12
Pic 13
I Also Made a Video Showing All of This
Interested in an laminar flow hood option that's priced for beginners.
Check out this option: You get a 17″x9.5″ HEPA filtered air 99.99% purity free at .03 microns for ONLY $199.99. You won’t find a better entry level flow hood. They only weigh 5 lbs! You can take this forging with you and do transfers with a USB powered battery back up.